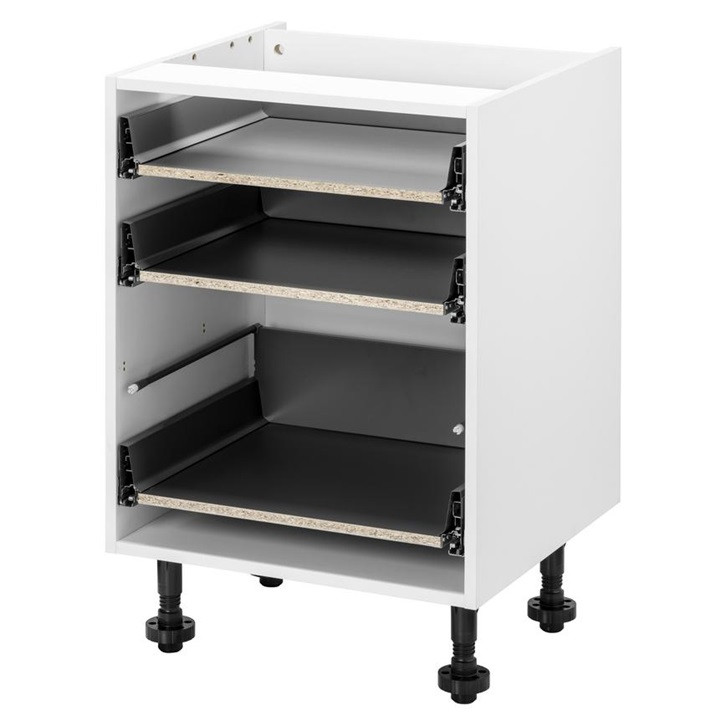
Ensuring a proper installation of your Drawer Gloss Slab Kitchen Units is crucial for optimal performance, stability, and longevity. Follow these steps for a smooth and successful installation:
1. Preparation Before Installation
a. Verify Package Contents:
- Unbox and confirm all parts and accessories are included: unit panels, drawer fronts, doors, hinges, screws, brackets, and assembly instructions.
b. Gather Necessary Tools:
- You will need a screwdriver, power drill, level, measuring tape, pencil, clamps, and potentially a stud finder if wall-mounting.
c. Prepare the Installation Area:
- Ensure the installation area is clean, dry, and free from obstructions. Measure the space to confirm it can accommodate the units' dimensions.
2. Assembling the Units
a. Lay Out All Parts:
- Lay out all parts on a clean surface and organize them according to the assembly instructions. This helps in identifying each piece and ensuring nothing is missing.
b. Assemble the Frame:
- Begin by assembling the cabinet frame. Attach the side panels to the base panel using the provided screws. Use clamps to hold the panels in place and a level to ensure they are aligned correctly.
c. Attach the Back Panel:
- Secure the back panel to the frame, ensuring it is flush and square. This adds stability to the cabinet structure.
d. Install the Top Panel:
- Attach the top panel to the side panels, ensuring it is level. Tighten all screws securely.
3. Installing Drawers and Doors
a. Assemble and Install Drawers:
- Follow the instructions to assemble the drawers. Install the drawer runners inside the cabinet at the designated positions. Slide the drawers onto the runners and ensure they glide smoothly.
b. Attach Hinges to Doors:
- Fix the soft-close hinges to the doors according to the manufacturer’s instructions. Ensure the hinges are securely attached.
c. Mount Doors to Cabinet:
- Align the doors with the cabinet frame and attach the hinges to the cabinet. Adjust the hinges to ensure the doors are level and close smoothly.
4. Securing the Units
a. Wall Mounting (if applicable):
- If the units are wall-mounted, locate the studs in the wall using a stud finder. Mark the positions and drill pilot holes. Secure the mounting brackets to the wall and then attach the units to the brackets. Ensure the units are level and tightly secured.
b. Freestanding Installation:
- If the units are freestanding, ensure they are placed on a level surface. Use adjustable feet (if provided) to level the units.
c. Secure Units Together:
- If installing multiple units side by side, secure them together using connecting screws. This ensures a seamless appearance and added stability.
5. Final Adjustments
a. Check Drawer and Door Alignment:
- Adjust the drawer runners and hinges as needed to ensure the drawers and doors are perfectly aligned and operate smoothly. Ensure the gaps between the doors and drawers are even.
b. Secure all Fixings:
- Double-check all screws and fittings to ensure they are tight and secure. This prevents any wobbling or instability.
6. Post-Installation Tips
a. Cleaning:
- Wipe down the surfaces with a soft, damp cloth to remove any fingerprints or dust from the installation process. Avoid using abrasive cleaners to maintain the gloss finish.
b. Regular Maintenance:
- Periodically check the hinges, drawer runners, and screws to ensure they remain tight. Clean the units regularly to maintain their appearance.
c. Avoid Overloading:
- Distribute weight evenly across the drawers and shelves to prevent sagging or damage. Avoid placing excessively heavy items in the drawers or on top of the units.
Conclusion
By following these installation tips, you will ensure that your Drawer Gloss Slab Kitchen Units are securely installed and function optimally. Whether you are a DIY enthusiast or hiring a professional, these steps will guide you through a successful installation, providing you with a stylish and practical addition to your kitchen.